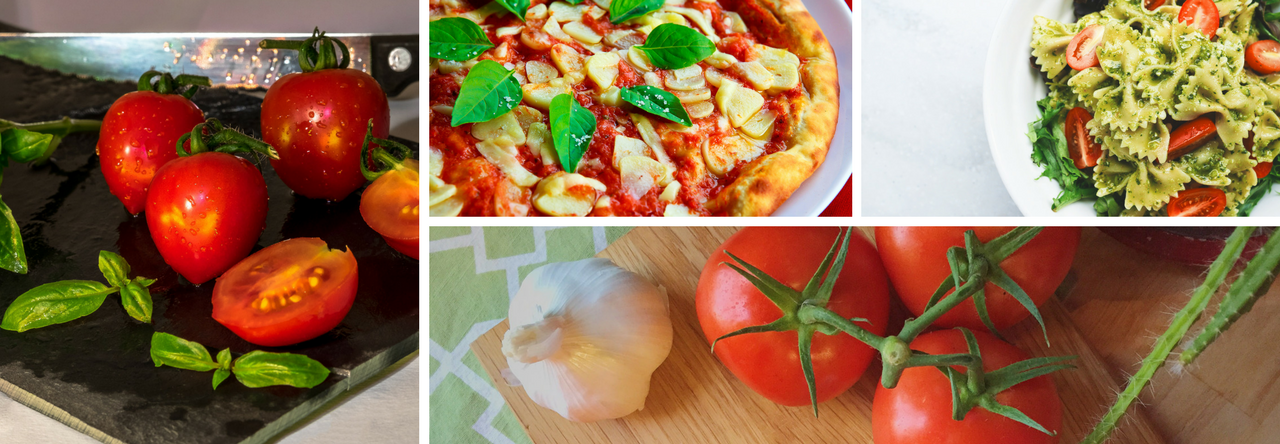

A rustic apple pie is easy to make and delicious.
This is one of my favorite recipes for apple pie. Once I found this recipe, I found myself unable to eat apple pies purchased from stores—they are just too sweet, compared with the galette.
The sliced apples are cooked first on the stove in just a little bit of butter, a cinnamon stick, and an optional sprinkling of cinnamon powder. And the crust is delicious and easy to make.
It doesn’t need to be perfectly round, and in fact its rustic look makes the pie taste even more delicious.
Ingredients
- Crust
- 1 ½ cups of all-purpose flour
- A pinch of salt
- A stick of cold. unsalted butter (8 tablespoons), cut into small pieces
- 1 tablespoon sugar
- 5-6 tablespoons of ice water (I usually fill a cup with ice and water, then spoon it into the food processor)
- Optional – 2 tablespoons heavy cream, used to brush the exposed crust prior to cooking
- Filling
- 8-10 apples, peeled and sliced
- ¼ teaspoon of vanilla extract or paste (optional)
- 1 cinnamon stick
- 2 tablespoons butter
- A pinch of cinnamon powder (optional)
Preparation
Crust
- In a food processor with a metal blade, combine the flour, salt, and sugar. Pulse for a few seconds to mix the dry ingredients.
- Add the cold pieces of butter, and using the pulse capability, run the processor for a minute or so (pulsing every 15 seconds), to combine the butter with the dry ingredients until the dough resembles coarse cornmeal.
- Add the ice water, one tablespoon at a time, as you pulse the food processor. Once you have added 5 tablespoons, allow the processor to run for 30 – 60 seconds as you watch the dough inside of it. It should begin to collect into a ball around the center – not too moist, but moist enough to start collecting together. You may need to drizzle a couple of more teaspoons of ice water as you continue to process the dough.Don’t over process the dough – it should be just enough to come together, but not be “wet” and not collect into a ball.
- Once you’ve processed the dough until it is shaggy, pour it onto a lightly floured work surface. Use the ball of your hand to shape the dough into a flat oval.
- Wrap the dough disk with plastic wrap and refrigerate it for an hour. The refrigeration process is what allows the gluten within the dough to settle down and relax, as well as making it easier to roll out. It also keeps it more moist.
Filling
- Set a large, nonstick skillet on the stove on medium heat. (I use my enamel pan). Add 2 tablespoons of butter and a cinnamon stick.
- Peel and slice the apples or pears. I add the fruit slices to the skillet as I cut them. The key is to move the slices of fruit gently in the skillet as they cook, so that you maintain the integrity of the slices.
- Cook the fruit until it begins to get slightly soft, but not completely cooked. This takes about 10 minutes or so…In my experience, results are best when the apple slices barely take on color and become just a little soft. Remember, they will cook again when they are baked with the crust.
- Let the fruit cool a bit so that you can handle it with your fingers.
Combining the Pie and Filling
- Pre-heat your oven to 375° F.
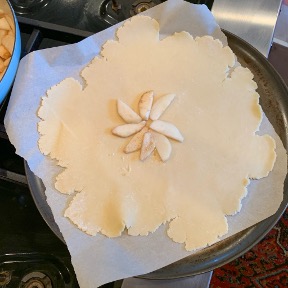
- Roll out the pie crust on a flour-dusted surface. The pie should be about 14 inches round, and the edges are usually uneven with this crust. Transfer the crust this into a large cast-iron skillet or onto a flat baking dish lined with parchment paper. I recently used a large cast-iron skillet (without the parchment paper), and the results were exceptional.
- Arrange the fruit in a concentric pattern to about 2 inches from the edge.
- Fold the edge over the top of the fruit. Optional: If there is syrup/liquid from the fruit at the bottom of the pan, use a kitchen brush to spread it over the folded crust edge. If there is no liquid, you can optionally brush some heavy cream over the folded crust edge.
- Bake until the crust is golden at 375º, about 45 minutes. Remove from the oven and allow to cool for 10 minutes before slicing.